ALBUM ASSEMBLY INSTRUCTION
|
|
 |
|
 |
|
|
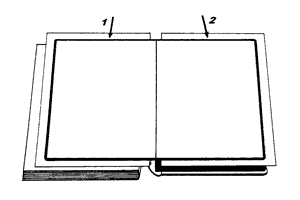
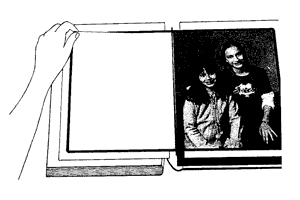
Fig. 1 Place books or magazines under Album so
page spread is level and flat. Regulate. |
|
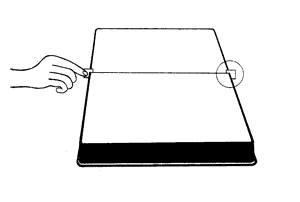
Fig. 2 Place white sheet of paper under album
page for better contrast. |
|
|
|
 |
|
 |
|
|
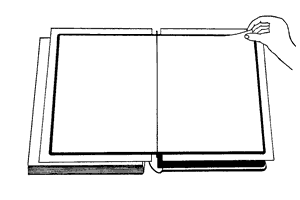
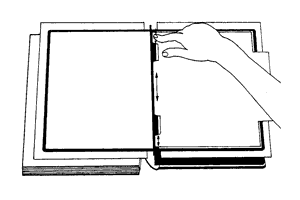
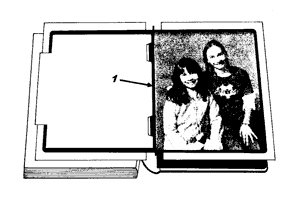
Fig. 3 Insert Locator in space between center
of album pages as shown 2. Press Locator from
top to seat 1. |
|
Locators line up photo exactly (very important)
on center of page spread and insures a 1/32 inch
gap between photos. |
|
|
|
 |
|
 |
|
|
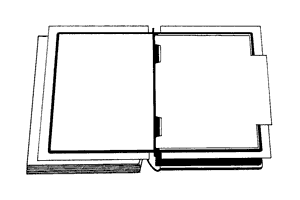
Fig.4 Remove liner to expose
adhesive page. |
|
Fig. 5 Place waxed shim on adhesive page.
Waxed shim prevents photo from adhering to
adhesive during adjustment to proper position.
Keep waxed shim dust free. Dust will adhere to adhesive and create imperfections. |
|
|
|
 |
|
 |
|
|
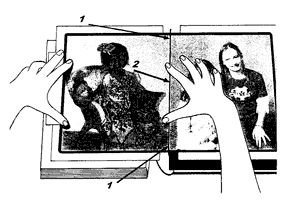
Fig. 6 Gently press center edge of waxed shim
to adhesive page at center of album as shown. |
|
Fig. 7 Place photo on waxed shim and adjust
top and button. 1 photo must be placed against
both Locators. 2 locators determines gap between pages of 1/32 inch and will line up center line. Photo must be dust free. |
|
|
|
 |
|
 |
|
|
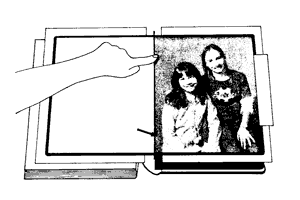
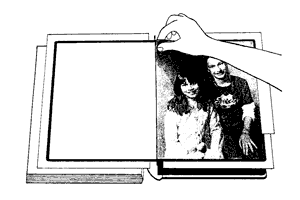
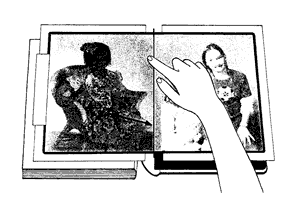
Fig. 8 Press photo to adhesive in areas shim is
cut out by center line. |
|
Fig. 9 Before proceeding to figure 10, make sure
photo is in proper order. Check if borders are
spaced evenly. Check if the photo is not on metal corners, and trim photo if too large. Check if locator is properly placed and that the photo is centered. If necessary, photo can be gently removed from adhesive points to readjust. |
|
|
|
 |
|
 |
|
|
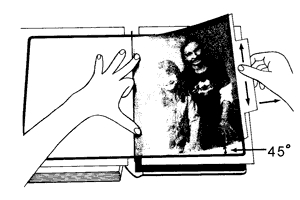
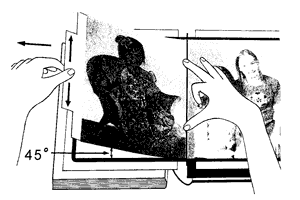
Fig. 10 Press photo firmly with left hand to
adhesive as shown to prevent shifting of photo.
Raise shim to about a 45 angle as shown. While pressing firmly, gently slide waxed shim out about
one inch using a gentle upward and downward
motion. |
|
Fig. 11 While holding waxed shim at the 45 angle,
slowly remove shim and smooth photo with a soft
cloth in a upward and downward motion to smooth photo with a soft cloth in a upward and downward motion to smooth photo and prevent any bubbles to form. |
|
|
|
 |
|
 |
|
|
Fig. 12 Remove liner to expose adhesive page. |
|
Fig. 13 Place waxed shim on adhesive page.
Keep waxed shim dust free. |
|
|
|
 |
|
 |
|
|
Fig. 14 Place photo on waxed shim and adjust
top and bottom. 1 photo must be placed against
both Locators. 2 locators determines gap between pages of 1/32 inch and will line up center line. Photo must be dust free. |
|
Fig. 15 Press photo to adhesive in areas shim is
cut out by center line. |
|
|
|
 |
|
 |
|
|
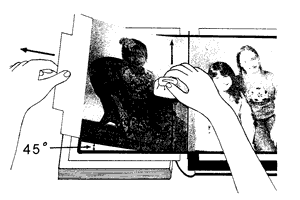
Fig. 16 Press photo firmly with right hand to
adhesive as shown to shifting of photo.
Raise shim to about a 45 angle as shown.
While pressing firmly, gently slide waxed shim
about one inch using a gentle upward and
downward motion. |
|
Fig. 17 While holding waxed shim at the 45 angle, slowly remove shim and smooth photo with a soft
cloth in a upward and downward motion to
smooth photo and prevent any bubbles to form. |
|
|
|
 |
|
 |
|
|
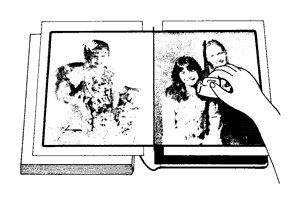
Fig. 18 When finished, smooth photos with soft
cloth. At this time, there will be a slight raised edge from the adhesive. The adhesive will event out and the edge will disappear within 12 hours. |
|
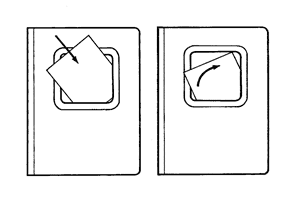
Fig. 19 Slip photo into opening. Rotate inserted
photo to desired position. Repeat procedure with
clear acetate. If photo is loose, remove photo and acetate from cameo. Then, slip paper spacer
provided. into opening and rotate to desired
position. Repeat procedure with photo and spacer. |
|
| Back to Top |
 |
